

Ahh, the lotus pose – many yogi's nemesis. In this article, I’m simplifying this I share the ins and outs of the famous lotus yoga pose, including how to prepare for it, step-by-step instructions, and different modifications to try.
This seemingly serene seated position is much more challenging than it looks.
Still, because of its popularity, I commonly see my students trying to accomplish it without understanding the proper alignment and safety considerations. The result? Either they hurt themselves, or they claim it's impossible to do.
So why is lotus pose so tricky, and can anyone achieve it? Find out below!
Article content:
(Click any link below to jump directly to section)
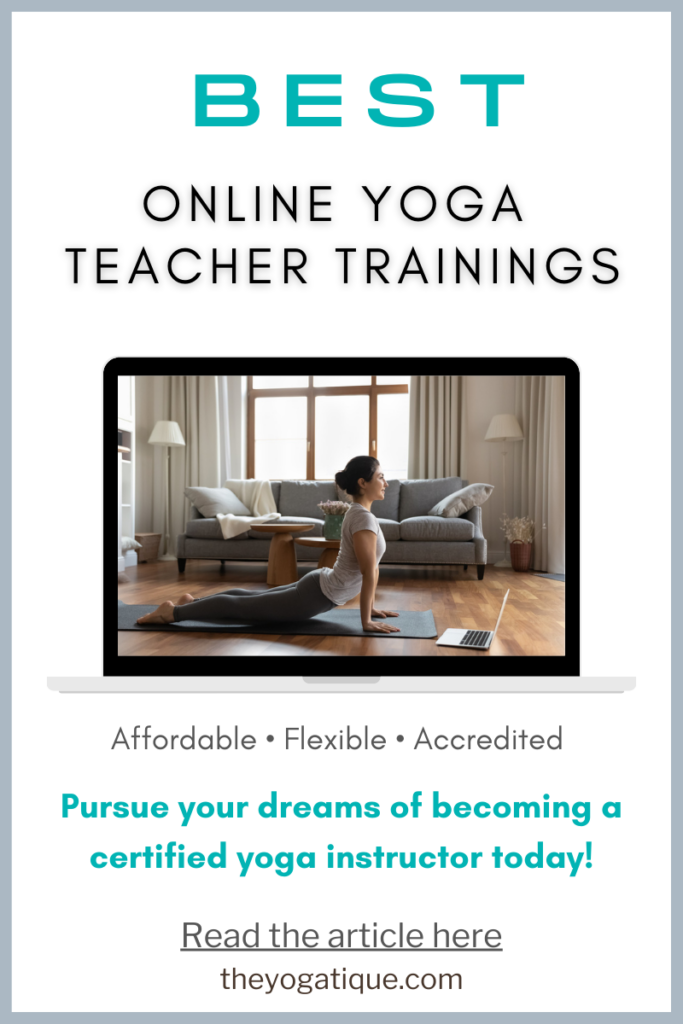
THE YOGA TEACHER TRAINING
YOU'VE BEEN LOOKING FOR.
Online Yoga Teacher Training Offers
- Affordability
- Flexibility
- Certification
- Lifetime access
⬇Click below to discover the best Yoga Alliance registered yoga teacher training online⬇
What is lotus pose?
Lotus pose, or Padmasana, is an advanced seated yoga posture often practiced after a series of hip-opening poses or in the final meditation part of a yoga class. It is also a popular pose when practicing yoga and a standalone posture for meditation.
Lotus pose is highly beneficial for spinal health and hip mobility. It promotes better posture, reduces the tendency to slouch, and strengthens the back muscles.
It also stretches and strengthens the hip and pelvic muscles and, with regular practice, helps open the hips. In addition, knee flexion helps strengthen the knee joints and reduce knee pain.
4 poses to prepare for lotus pose
It is very important to prepare your body properly for lotus pose. When I teach this asana, I sequence it as the peak pose, teaching many other hip openers before it. I include preparatory poses that externally rotate, internally rotate, flex, and extend the hip joint to warm this body part thoroughly. Here are four poses that will prepare your body for lotus:
- Bound Angle Pose (Baddha Konasana)
- Hero Pose (Virasana)
- Cow Face Pose (Gomukhasana)
- Pigeon Pose (Eka Pada Rajakapotasana)
2 beginner variations for lotus pose

If you're new to yoga or have tight hips, focus on gentler variations of padmasana before attempting the full version. First, start with the Easy pose (Sukhasana), which involves the legs simply crossed in front of the body, like this:
- Allow your knees to fall naturally to the sides, placing props underneath them if needed.
- Sit comfortably with the legs extended. Cross your legs at the shins, bringing your right leg in front of the left one.

If the Easy pose feels, well, easy, try the Half lotus pose (Ardha Padmasana), like this.
- If your right knee is far from the ground, place a block underneath to support the joint.
- Extend your legs in front of you.
- Bend your right knee and bring the foot toward your left hip.
- Gently lift your right foot and place it on your left thigh. The sole of your right foot should be facing upward, and the heel should be close to your left hip crease.
- Either keep your left leg extended with the foot flexed. Or bend the left knee, bringing the left foot under the right shin.
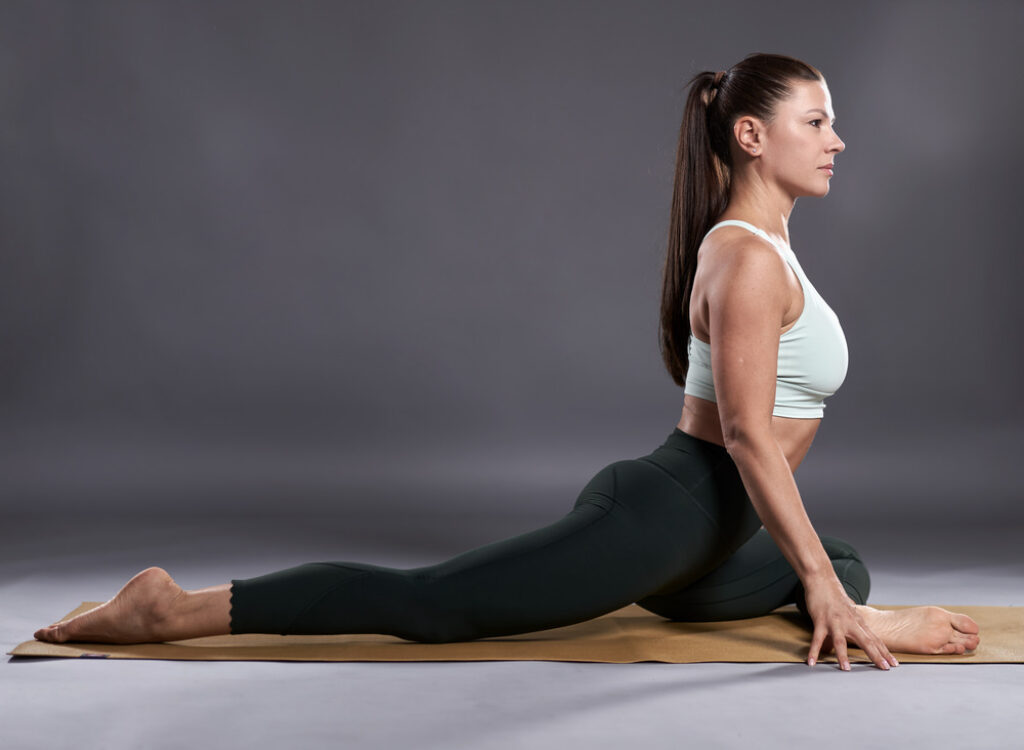
How to do full lotus pose step-by-step
So now that your body is all warmed up, you're ready to try the full variation. These are the seven steps to get into lotus pose:
- Sit on the floor and extend both legs.
- Bend your right knee and bring the heel toward your left hip.
- Lift your right foot and place it on your left thigh with the sole facing up, as close to the hip crease as possible.
- Bend your left knee and bring the heel toward your right hip. Lift the left foot and place it on your right thigh with the sole facing up.
- As you bend your knees, ensure the rotation comes from the hip, not the knee joint.
- With both legs crossed, rest your hands on your knees in chin mudra. You can have the palms facing down (for grounding) or facing up (for receptivity).
- Take a few minutes in meditation or pranayama practice. Hold for as long as comfortable before releasing.
From full lotus, you can go into a deeper variation called bound lotus. These are the three steps to get into bound lotus:
- From full lotus, reach your right arm behind your back and clasp the right big toe.
- Once you have the clasp, reach your left arm behind your back, crossing the right arm.
- Try to clasp the left big toe while keeping a straight spine.

⬇Yoga Alliance registered yoga teacher trainings you should look into⬇
• 2,400+ reviews
• Self-paced
• $1,200 in free bonuses
• Offers 12+ yoga certifications
• Founded in 2016
• Learn 4 yoga styles
• Self-paced
• Expert educator
• Use code
YOGATIQUE
FOR 10% OFF
(If paid in full)

• Deep & transformational
• Curated certification paths
• Online or in-person in Bali
• Use code
THEYOGATIQUE
FOR 5% OFF
7 tips for lotus pose
Lotus pose is an intense hip opener requiring significant external rotation, and a common misconception is that everyone can achieve lotus pose through regular practice. Here are seven tips that could help you get into lotus pose:
- Use a prop to keep a straight spine – Sitting on a pillow or folded blanket is an easy way to keep your spine long and straight and prevent slouching.
- Listen to your body – Don't try to hold the pose if you experience hip or knee pain. Look out for sharp, shooting pains – if you feel these, come out and practice half lotus instead.
- Breathe into discomfort – With each exhale, imagine the breath moving towards the hips and breaking up any tension or tightness here.
- Sit tall – To keep your spine straight, imagine the crown of your head extending upward while engaging your core slightly to support your lower back.
- Relax your shoulders – When we feel discomfort in our bodies or are trying to create length in the spine, we often unconsciously draw the shoulders up to the ears. So remember to mentally cue yourself to relax your shoulders while holding a full or half lotus.
- Protect your knees – If you feel discomfort in your knee, place a block or bolster under it. Never force your knees into position or press them closer to the ground.
- Be patient – Like many advanced yoga poses, achieving Lotus Pose takes time and consistent practice. So practice it regularly, but don't beat yourself up if you feel you're not making progress quickly enough.
Takeaway on lotus pose
Lotus pose is an advanced asana for a reason. Just like you wouldn't expect to do a headstand in your first yoga class, lotus is one asana that takes a long time to work towards.
But remember, it's about the journey, not the destination.
Rather than obsessing about mastering the full variation, focus on slowly improving your hip mobility and flexibility. Even if you cannot achieve full lotus, the progress you make will benefit you in many other ways, reducing back pain, poor posture, and more.
Some online yoga studios, online yoga teacher training programs, and brands that we write about may offer us a small commission should you decide to make a purchase or signup after reading our content. Thank you for enabling us to exist!


