Did you know that many yoga poses can target your glutes and hips, keeping your booty firm and fabulous for many years to come? Well, it's true!
Whether you’re looking to sculpt a gorgeous butt for your upcoming vacation, slow down aging, or smash your flexibility goals, read on to discover the ten best yoga poses for your glutes.
Article content:
(Click any link below to jump directly to section)
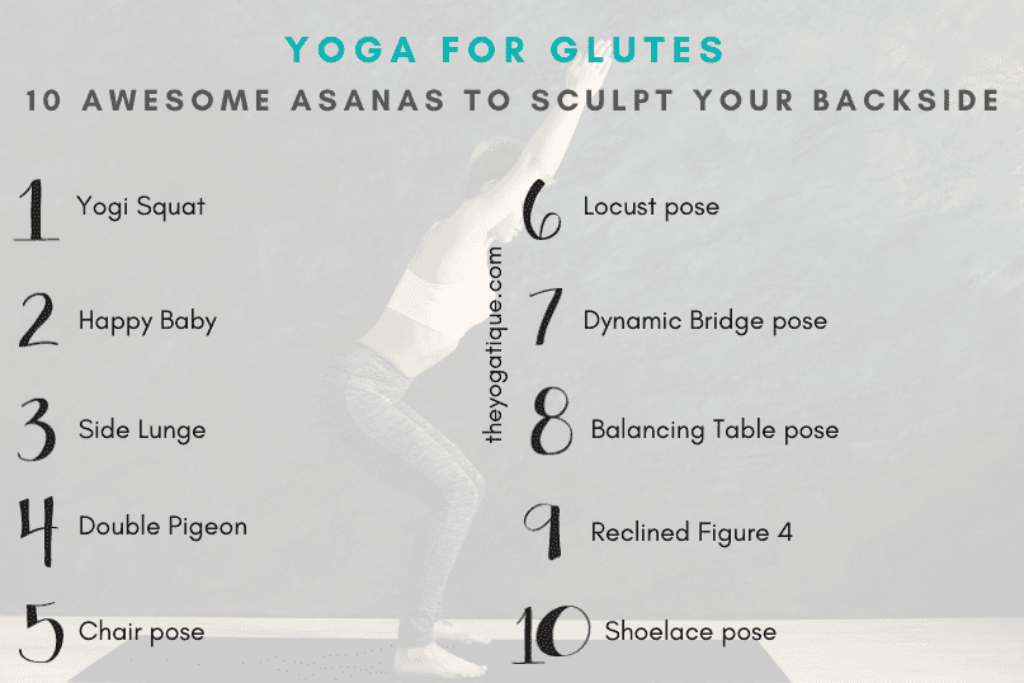
10 best glute-focused yoga poses
Achieving strong, toned glutes is not only about aesthetics but also about supporting overall lower body strength and stability.
Yoga offers a powerful and effective way to target and strengthen the glute muscles through a variety of poses that engage and challenge this area.
Here are the ten best yoga poses to build glutes muscles:
- Malasana
- Happy Baby
- Side Lunge
- Double Pigeon
- Chair pose
- Locust pose
- Dynamic Bridge pose
- Balancing Table pose
- Reclined Figure Four
- Shoelace pose
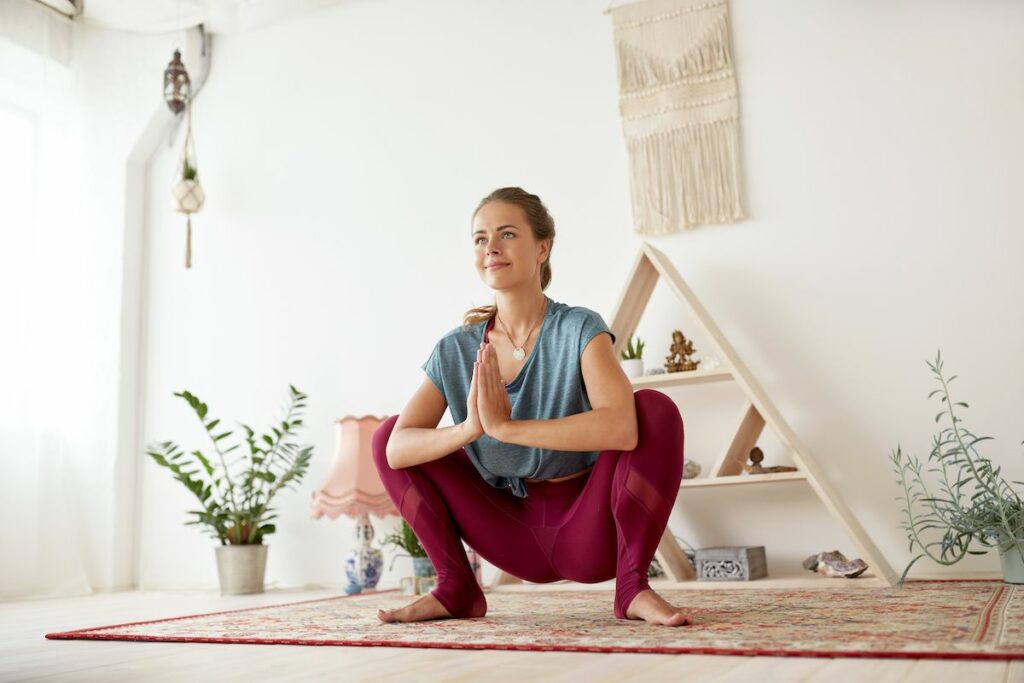
1. Malasana
Holding Malansa (also called Garland pose and yogi squat) builds both strength and stability in the buttocks. Plus, this yoga pose gives a beautiful hip and groin opening, improving flexibility in the entire lower body. Here’s how to do Malasana:
- To warm up for this pose, I recommend doing a downward-facing dog first, which gently stretches many muscles, including the glutes, hips, and hamstrings.
- After five breaths in downward dog, walk your feet forward to the outside of your hands with toes turned to 45 degrees.
- Keep your heels on the floor and sink your hips as low as possible – keep your hands on the floor or a block as you do so.
- If your heels lift, widen your feet or turn the toes out more. Alternatively, you can place rolled-up blankets under the heels.
- Next, lift your chest and straighten your spine. Keep the fingers on the floor/block or bring them together to a prayer position at the heart center. If you choose the latter, gently press your elbows into your inner knees to deepen the stretch further.
- Take 5 to 10 slow breaths here.
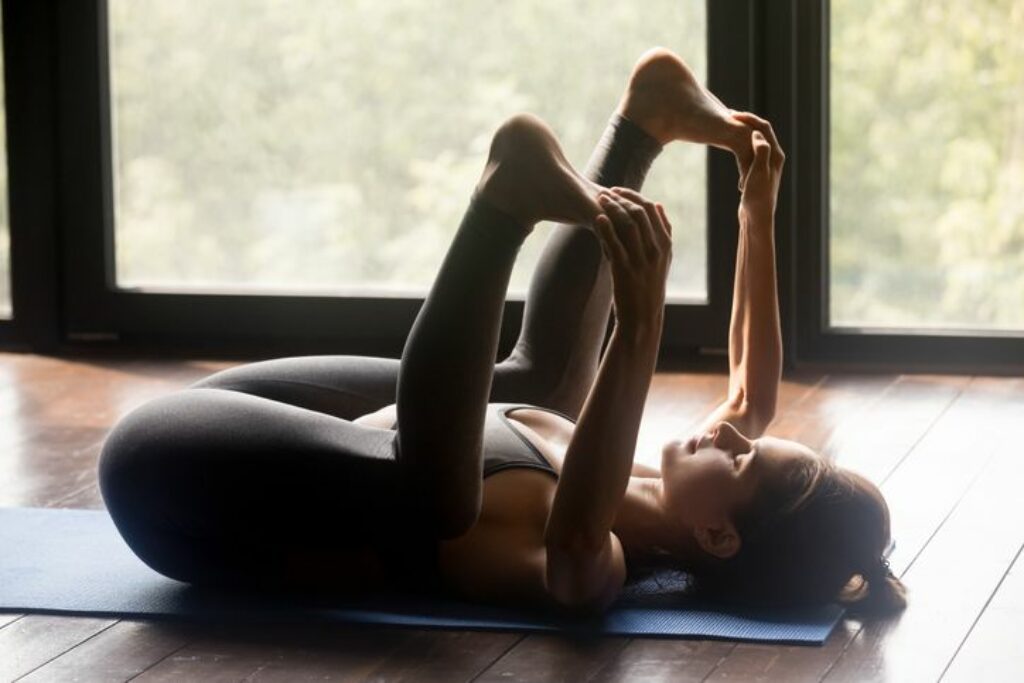
2. Happy Baby
If you only have time for one yoga for glutes stretch, make it this one. Happy Baby or Ananda Balasana is a gentle strength that doesn’t require any warm-up prep poses, meaning you can do it anywhere, any time – on the couch, in bed, etc. It gives a juicy opening to the hips while stretching the buttocks and relieving tension in the lower back. Here’s how to do Happy Baby pose:
- Lay on your back with your knees bent. Lift your feet off the floor and grab your ankles or the outside of your feet.
- Pull the feet away from each other as you draw the knees down to the floor on either side of your head. Ensure your head and back remain on the floor.
- Hold in stillness for ten deep breaths or rock side to side (keep the knees bent).
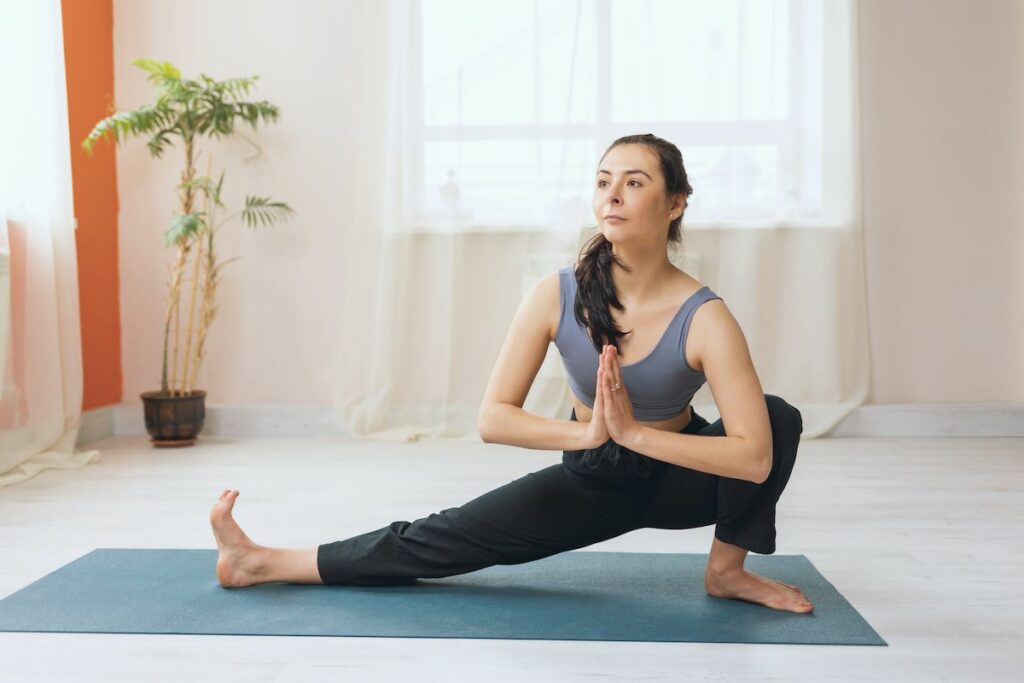
3. Side Lunge
Side Lunge, or Skandasana or, is a side lunge position that stretches your hips and hamstrings while building strength in the quads, glutes, and core.
You can do this pose dynamically (challenging yourself to move from side to side without using your hands) or hold the pose for five breaths on each side. I personally love combining both. Here’s how to do Side Lunge:
- Start in a wide-leg standing position (facing the side of the mat) with the heels in and toes out.
- Bend your right knee as you sink your hips to that side, keeping the left leg straight. Proper alignment is key here.
- Lower your buttocks as close to the ground as you can, lifting the sole of the left foot and flexing the toes as you do. If you need stability here, bring your hands to a block.
- Hold for five breaths. Or, return to the starting position on the next inhale, then lunge to the left side as you breathe out.
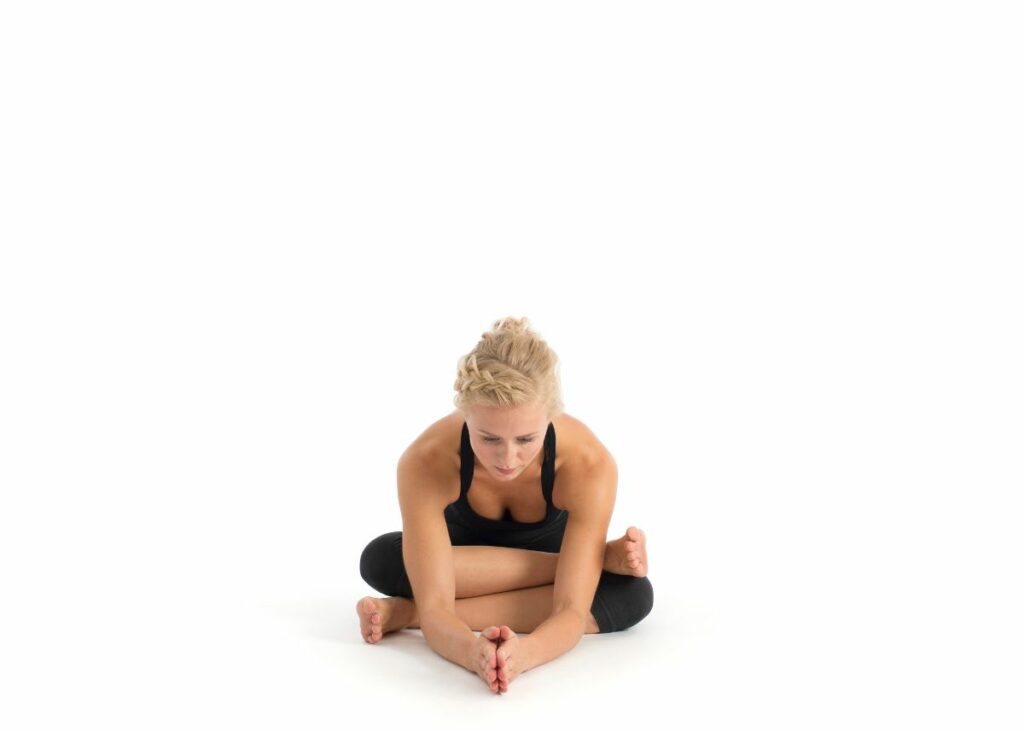
4. Double Pigeon
Double Pigeon pose, also known as Fire Log Pose or Agnistambhasana, is a powerful hip opener that deeply stretches the outer hips and glutes. Here's how to do Double Pigeon:
- From a seated position with legs outstretched, bend your right knee, placing the foot close to the left knee so that the shin is parallel to the front of the mat.
- Next, bend the left knee, stack the shins, and place the ankle on the right knee.
- If there is a large gap between the top knee and bottom ankle, place a block in between. You can also set a block or folded blanket underneath the bottom knee if it's sensitive.
- Sit with a straight spine as you breathe deeply, sending your breath to any tension you feel.
5. Chair pose
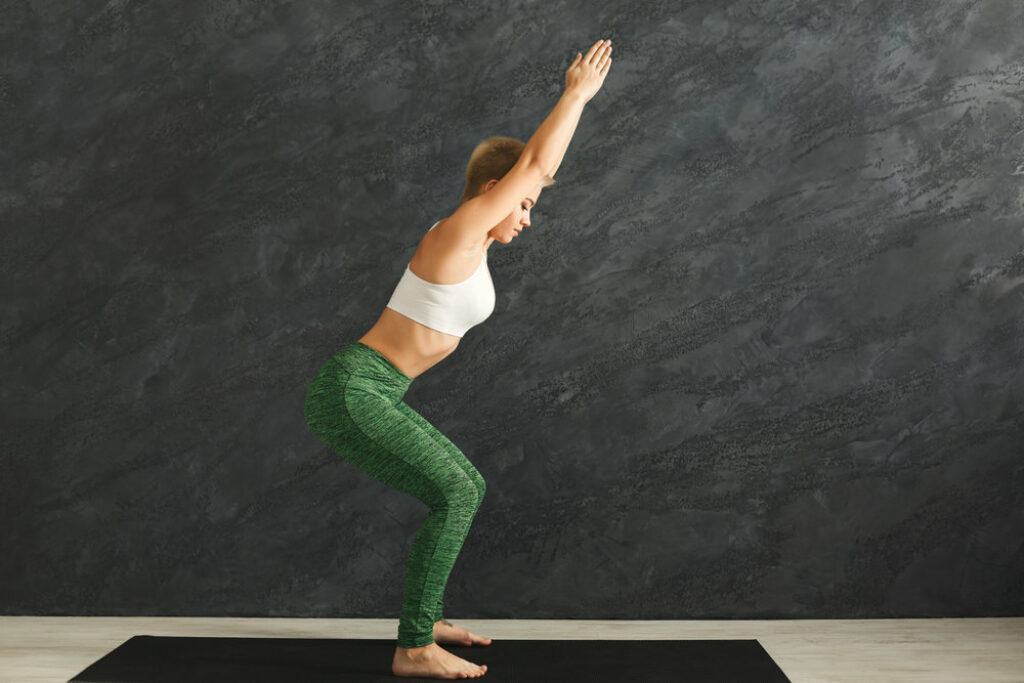
Chair pose strengthens the entire lower body, working the hamstrings, quads, and glutes while strengthening the ankle and knee joints and the core muscles. Here’s how to do Chair pose:
- From a standing position (Tadasana), bring your feet together with heels and toes touching.
- With your hands on your hips, bend your knees and push your buttocks back. Don't lower too low – you should be able to see your toes when you look down.
- As you inhale, reach your arms up alongside your ears with palms facing each other. Relax the shoulders, but keep the arms active.
- Keep the knees bent and back straight as you hold for five breaths, gazing straight ahead.
6. Locust pose
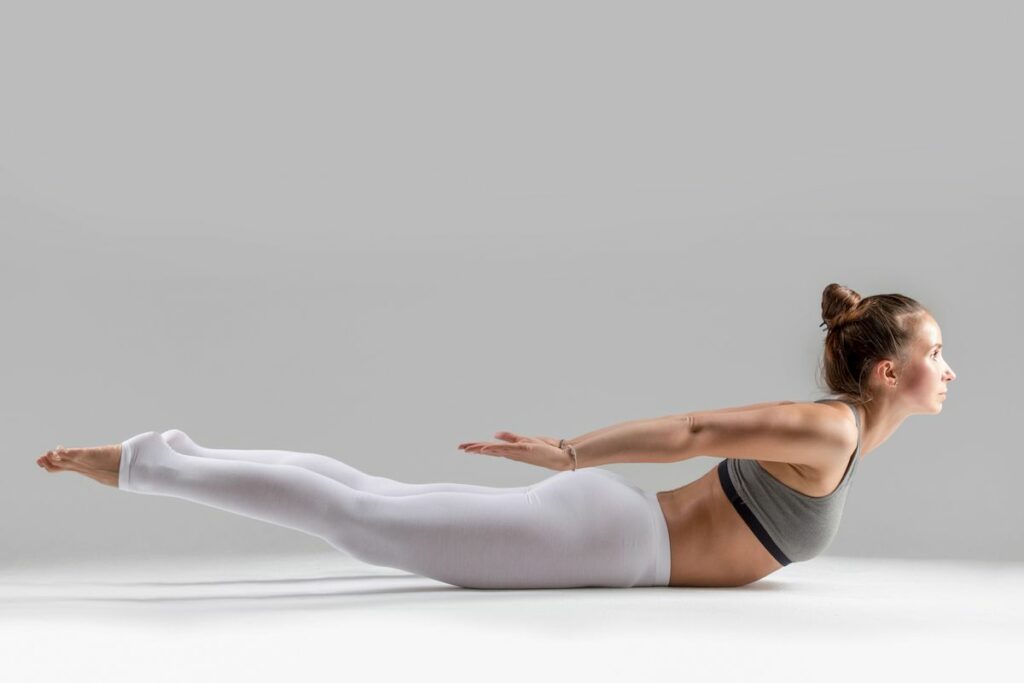
Locust pose, or Salabhasana, is known for strengthening the back muscles, but it is just as beneficial for firming the butt. Plus, you need to actively engage the thigh muscles (quads and hamstrings) to lift the legs, making this asana an all-round lower body toner. Here’s how to do Locust pose:
- From a prone position, bring your feet together and your arms by your sides with your palms facing down.
- Press your pubic bone into the floor and engage your core and back muscles by sucking the belly button to the spine.
- Hug your thighs together to engage the leg muscles, then on an inhale, simultaneously lift your head, chest, and legs off the ground.
- Roll your shoulders back, keeping your arms active and lifted. Ensure the feet do not come more than hip-distance apart.
- Hold here for up to 5 breaths, then release on an exhale.
7. Dynamic Bridge pose
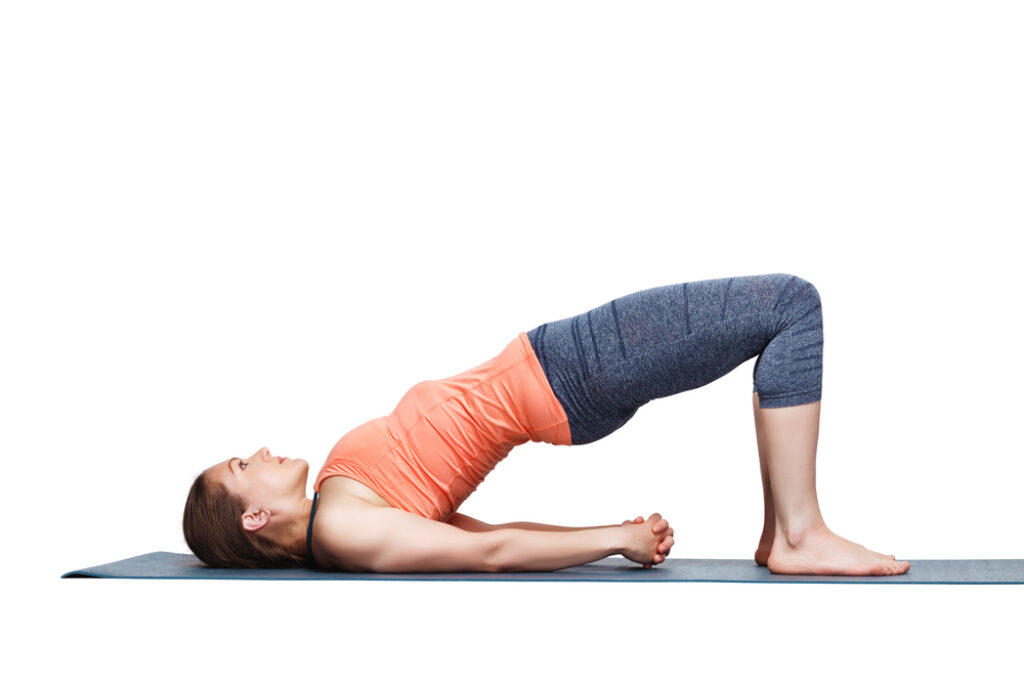
Dynamic Bridge Pose or Setu Bandha Sarvangasana strengthens the back, glutes, and hamstrings, making it a fab preparatory pose for deeper backbends like locust, bow, and wheel. I recommend doing dynamic bridges first and then holding the posture for five breaths to combine active and static stretching. Here’s how to do Dynamic Bridge pose:
- Lay on your back with your arms by your side, knees bent, and soles of the feet on the floor. Walk your heels in toward your buttocks.
- Press your feet into the ground to activate the thigh and glutes. As you inhale, lift your hips and reach your arms up and over, bringing the backs of your hands to touch the ground behind you.
- Roll your spine back on the mat as you exhale, bringing your arms alongside you.
- Do five repetitions, then on the last round, keep your arms by your side and interlace the hands underneath you. Draw the shoulder blades together and press the forearms into the mat to lift your hips higher.
- Hold for five breaths as you actively hug the thighs.
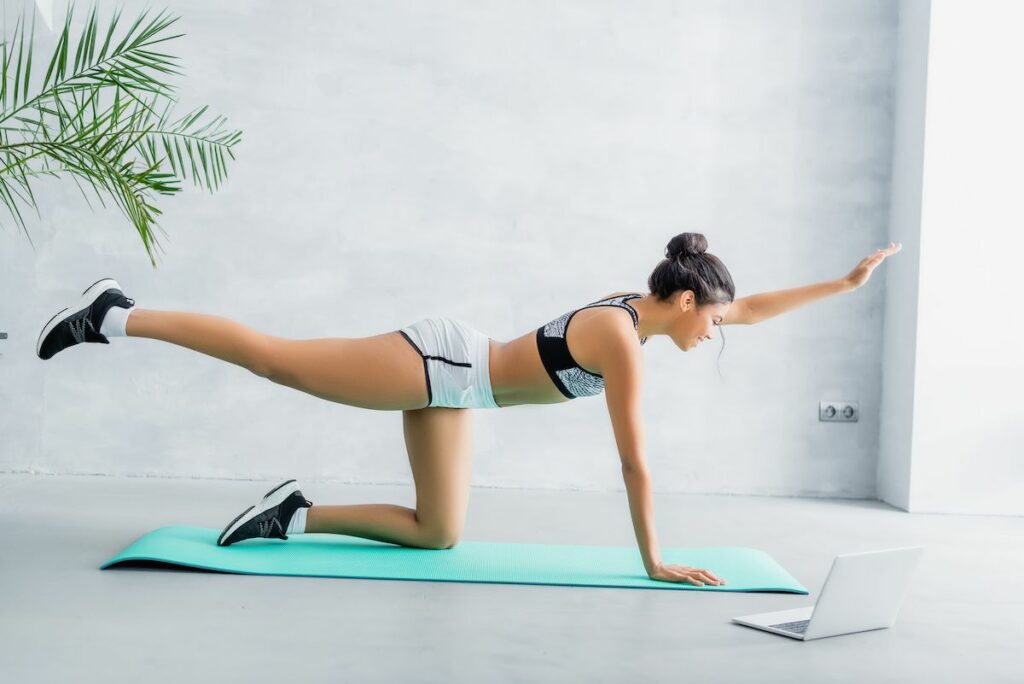
8. Balancing Table pose
Balanacing table pose or, Dandyamana brahmanasana, is kneeling balancing targets the glutes and hip flexors while building strength in the legs, shoulders, arms, and core. Here’s how to do Balancing Table pose:
- Come into a tabletop position with hips over knees and shoulders over wrists.
- Find a neutral spine where the back is straight, then engage the core muscles by sucking the belly button to the spine.
- Slowly straighten and extend your right leg until the leg is parallel to the ground. Flex the foot and imagine you're pressing the sole into a wall behind you (this activates the legs and glutes).
- Keeping the leg lifted, shift your weight into your right arm as you lift your left hand, reaching the arm forward.
- Hold this position for five breaths, return to the tabletop, and raise the opposite arm and leg.
9. Reclined Figure Four
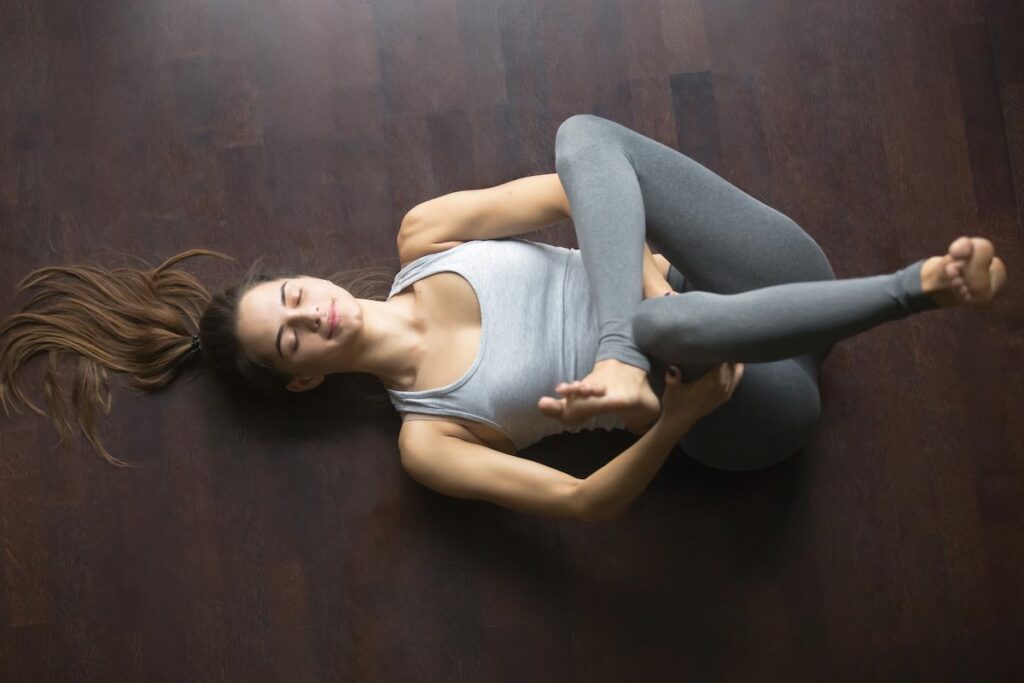
The supine asana Reclined Figure Four or Supta Kapotasana opens the glutes and hamstrings while releasing tension in the lower back. As you draw the thigh toward you, you control the intensity of the stretch. Here’s how to do Reclined Figure 4 pose:
- Laying on your back, bend both knees, placing the soles of the feet close to your buttocks, hip distance apart.
- Lift the right foot, turning the knee out to the side and placing the ankle over the left thigh (close to the knee).
- You can stay here, gently pressing the right knee away from you. Or, lift the left foot and clasp your hands behind the left thigh, gently drawing it toward your chest for a deeper stretch.
- Keep your head, back, and shoulders grounded as you hold here for up to 20 breaths. Then, switch legs to repeat the posture on the other side.
10. Shoelace pose
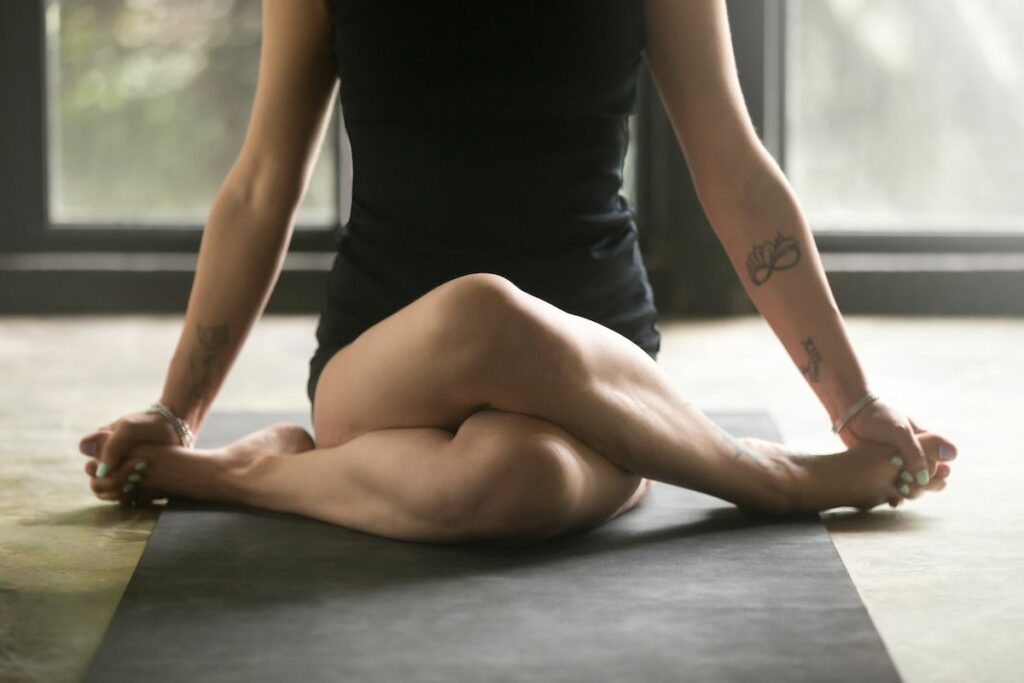
Shoelace pose (also known as cow face pose in Hatha yoga) involves externally rotating the hips to improve mobility while stretching the inner thighs, groin, IT band, and glutes. Here’s how to do Shoelace pose:
- From a seated position with legs outstretched, bend your left knee and cross it over the right knee. To do this, you'll need to place the left heel next to the right hip with the thighs hugging each other.
- If you have tight hips, stay here with the bottom leg straight. Or, for a deeper stretch, bend your right knee, bringing the heel next to your left hip.
- Ensure both sitting bones stay grounded – sit on a block if one starts to lift. Likewise, if there is a large gap between both knees, place a prop in between.
- Option to stay upright or fold forward, tilting from the hips.
- Hold for 10 to 20 breaths, slowly unravel, then switch the cross of the legs to repeat on the other side.
Takeaway on the best yoga poses to build strong glutes
As we age, we must work harder to keep our bodies toned and mobile. However, this doesn't mean you have to embark on a crazy squat challenge.
Learning about different styles of yoga, and adding a few of these yoga for glutes asanas to your daily movement practice will help to keep your butt tight, hips loose, and thighs sculpted.
Read next:
- Best yoga poses to improve flexibility
- Best yoga pose to build strength
- Best yoga poses for digestion
- Best yoga poses to build stronger legs
Some online yoga studios, online yoga teacher training programs, and brands that we write about may offer us a small percentage should you decide to purchase after reading our content. Thank you for enabling us to exist!


