
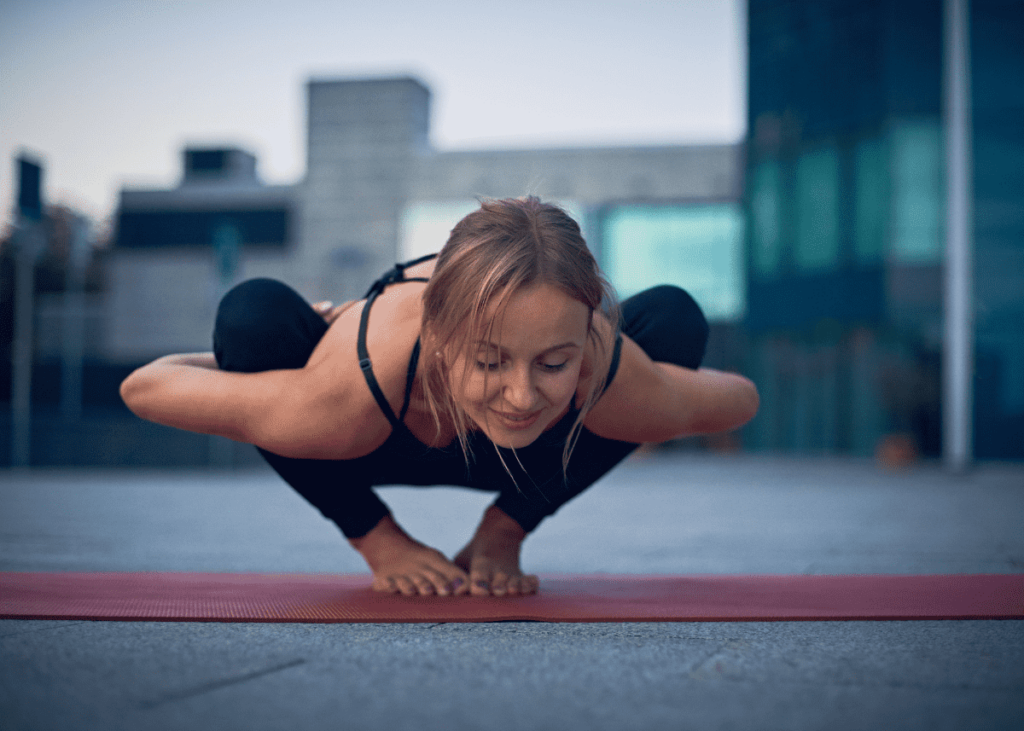
Do you spend long hours sitting at a desk or driving? If so, Malasana is the yoga pose you didn't know you needed. As a registered yoga instructor, I can say that this is one of the hardest yoga poses for many people (don’t worry, there are many Malasana modifications available).
This hip-opening posture is one of the best asanas for relieving tension and tightness in the lower body, helping to undo the damage of a sedentary lifestyle.
It is surprising to many to learn that the squat was once a normal resting position and still is in parts of the world, especially in Asian countries.
But even in Western countries, it is common to see children sitting in a squat position still. However, as we get older, we favor the chair and couch, which causes detrimental effects on our mobility.
Thankfully, practicing the yogic squat can counteract the tightness and tension caused by the unnatural position of sitting on a chair. Read on to learn how to practice Garland Pose safely and the many Malasana modifications available.
Article content:
(Click any link below to jump directly to section)
ARE YOU CURIOUS ABOUT YOGA TEACHER TRAINING?!
Online Yoga Teacher Training Offers
- Affordability
- Flexibility
- Certification
- Lifetime access
⬇Click below to discover the best Yoga Alliance registered online YTT's that are under $500⬇
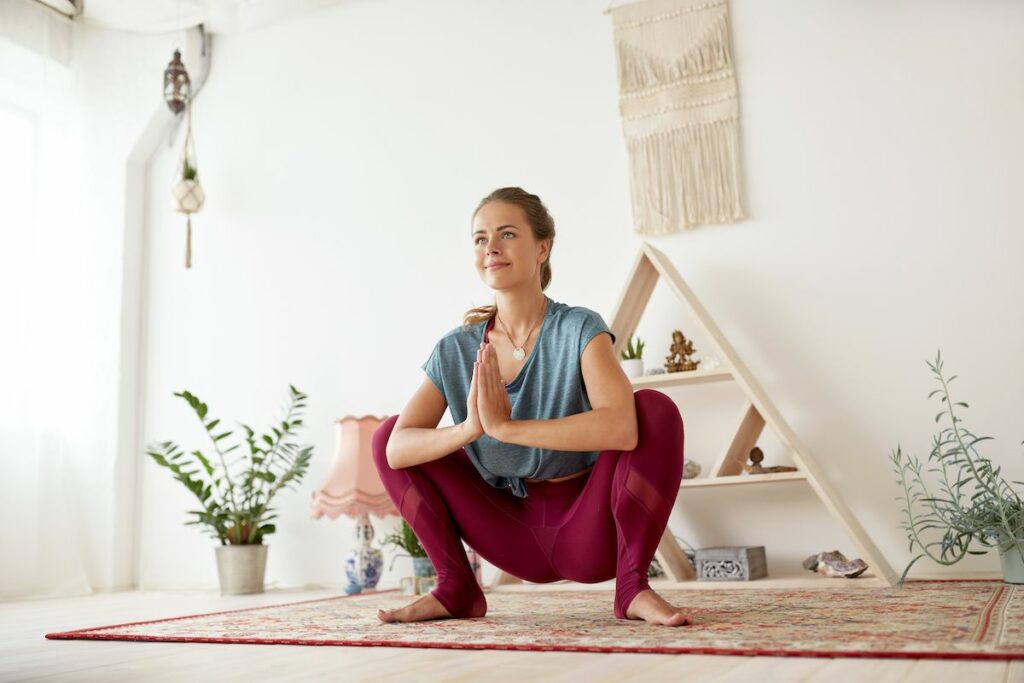
How to do Malasana (in 6 steps)
Here are the step-by-step instructions for how to practice the Malasana Garland Pose in six steps:
- Stand at the top of your mat in Mountain Pose. Place your feet hip distance apart; the toes can point slightly out.
- Keeping your spine straight, bend your knees and push your butt back as you lower it towards the floor. Keep your feet flat on the mat; if the heels lift, rise slightly.
- Bring your hands into a prayer position at the heart center. Place the elbows inside the knees and bring your thumbs to your chest.
- Keep your chest lifted as you hold Anjali Mudra. If you feel like you're falling forward, bring your arms forward and place your fingers on the mat.
- As you hold for five breaths, gently press the elbows against the inner knees, keep your butt close to the floor and your shoulders relaxed.
- To come out, straighten the legs into a standing forward fold.
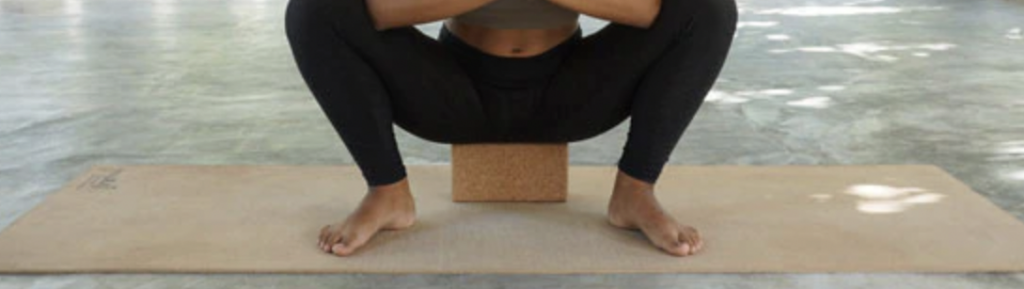
Malasana modifications
Because of modern life, many of us have tight hips, hamstrings, and lower backs. This tension can make natural positions like squat pose very challenging.
Moreover, if you are new to yoga or any movement practice, you will likely find the yoga squat difficult initially. Luckily though, there are many ways you can modify Malasana to make it more accessible while you improve your mobility. I'm providing three beginner and three advanced modifications to suit every level. Here are three beginner Malasana modifications
- Sit on a block – One of the most common modifications I give for the yogi's squat is to sit on a block or two. This gives you more support and stability, allowing your muscles to stretch gently, not forcefully.
- Place a prop under your heels – If your heels lift whenever you sink your hips down, place a rolled-up mat or blanket underneath them to protect the muscles in the feet and ankles.
- Place a blanket in the knee joint – You can also put a folded blanket behind the knee, separating the calf and inner thigh. This can make the pose more comfortable and allow you to go deeper, enhancing lymph compression and blood circulation.
⬇Yoga Alliance registered yoga teacher trainings you should look into⬇
• 2,400+ reviews
• Self-paced
• $1,200 in free bonuses
• Offers 12+ yoga certifications
• Founded in 2016
• Learn 4 yoga styles
• Self-paced
• Expert educator
• Use code
YOGATIQUE
FOR 10% OFF
(If paid in full)

• Deep & transformational
• Curated certification paths
• Online or in-person in Bali
• Use code
THEYOGATIQUE
FOR 5% OFF
Advanced Malasana modifications
Advanced Malasana modifications can take your yoga practice to new depths, offering increased flexibility, strength, and stability. Here are three advanced Malasana modifications to try:
- Revolved malasana with one arm up – This twisted variation stimulates digestion, increases metabolism and challenges your balance as it requires you to look up. This is the first variation I offer to my students who want to take this pose a little further.
- Malasana with half bind – The next step is to bring the top arm behind the lower back into a half bind position. This opens the shoulder and stretches the chest deeper.
- Malasana with full bind – If you master these two variations, you can reach the lower arm behind your low back and try to bind the hands. This gives the deepest twist and shoulder opening. You can also do this variation using a strap.
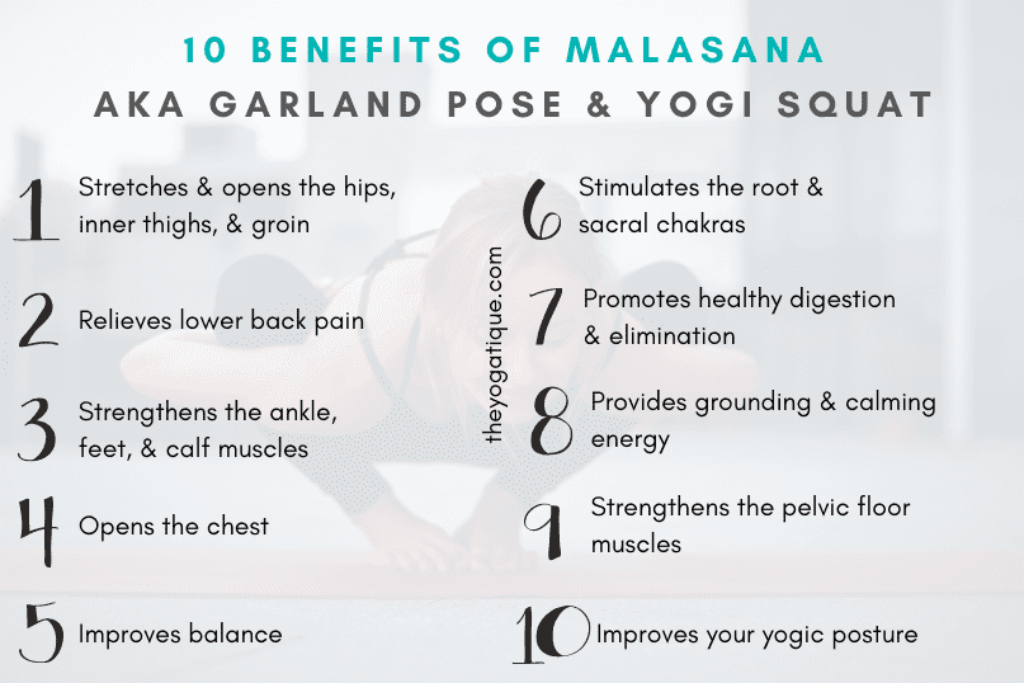
10 benefits of Malasana
The main benefits of Malasana are that it releases tension and tightness in the lower body (particularly the hips and groin) and improves mobility in this region.
Studies have also found that squatting increases muscle activity, which helps to burn fat. Here are ten ways practicing Malasana can benefit you:
- Stretches and opens the hips, inner thighs, and groin
- Relieves lower back pain
- Strengthens the ankle, feet, and calf muscles
- Opens the chest
- Improves balance and posture as it promotes a straight spine and engages the core muscles
- Stimulates the root and sacral chakras
- Promotes healthy digestion and elimination
- Provides grounding and calming energy
- Strengthens the pelvic floor muscles to encourage a better birthing process
- Improves your yogic posture
Who shouldn't practice Malasana
You should avoid practicing the yoga squat if you have any recent injury or surgery to your knees, ankles, hips, pelvis, or lower spine. Be extra cautious with knee injuries, as practicing the yogi squat can cause swelling in this joint. If you are unsure whether to practice Garland Pose, consult your medical provider.
Takeaway on modifications for Malasana
No matter how tight your hips are or how much low back tension you have, these Malasana modifications make this pose accessible and beneficial for all.
Consistent practice is a must when it comes to increasing flexibility. By practicing this pose daily, I've seen many students gain significantly more mobility in their hips and eliminate chronic low back pain. So give it a go and see for yourself!
Other articles you might enjoy to improve your asana practice are:
- How to do Parsva Balasana
- Build strong abs with yoga,
- Yoga stretches for toned legs
- Yoga poses for strong arms
Some online yoga studios, online yoga teacher training programs, and brands that we write about may offer us a small commission should you decide to make a purchase or signup after reading our content. Thank you for enabling us to exist!


